Another measure of success is cost; if I could have purchased a ready-made setup for a marginal increase in cost, it may be better to go with a commercial platform. If the build is overkill and I could have built it with cheaper components, I should scrap this and re-build. Looking at commercial options I couldn't find anything that had both the garage door functionality and the security camera... just one or the other. Chamberlain does sell the MyQ Garage, a pretty nifty home automation product that contains a universal garage door opener and a tilt sensor that is WiFi-enabled and can be paired with a smartphone app. They also sell the MyQ Internet Connectivity Kit, which is more of an Internet-enabled garage door master controller. Neither have a security camera paired with it, but you could easily install a wireless camera separately for around $40. The MyQ solutions are $140 and $120 respectively, giving you a total build cost of $160-$180. Not bad, really.
If you bought every part new, the build list for my lil' setup is:
| Raspberry Pi B | $40 |
| USB Micro-B cable | $2 |
| USB AC Adapter | $5 |
| 8GB Class10 SD Card | $8 |
| 802.11n USB dongle | $9 |
| Parts for MOSFET switch | $5 |
| Universal garage door opener | $25 |
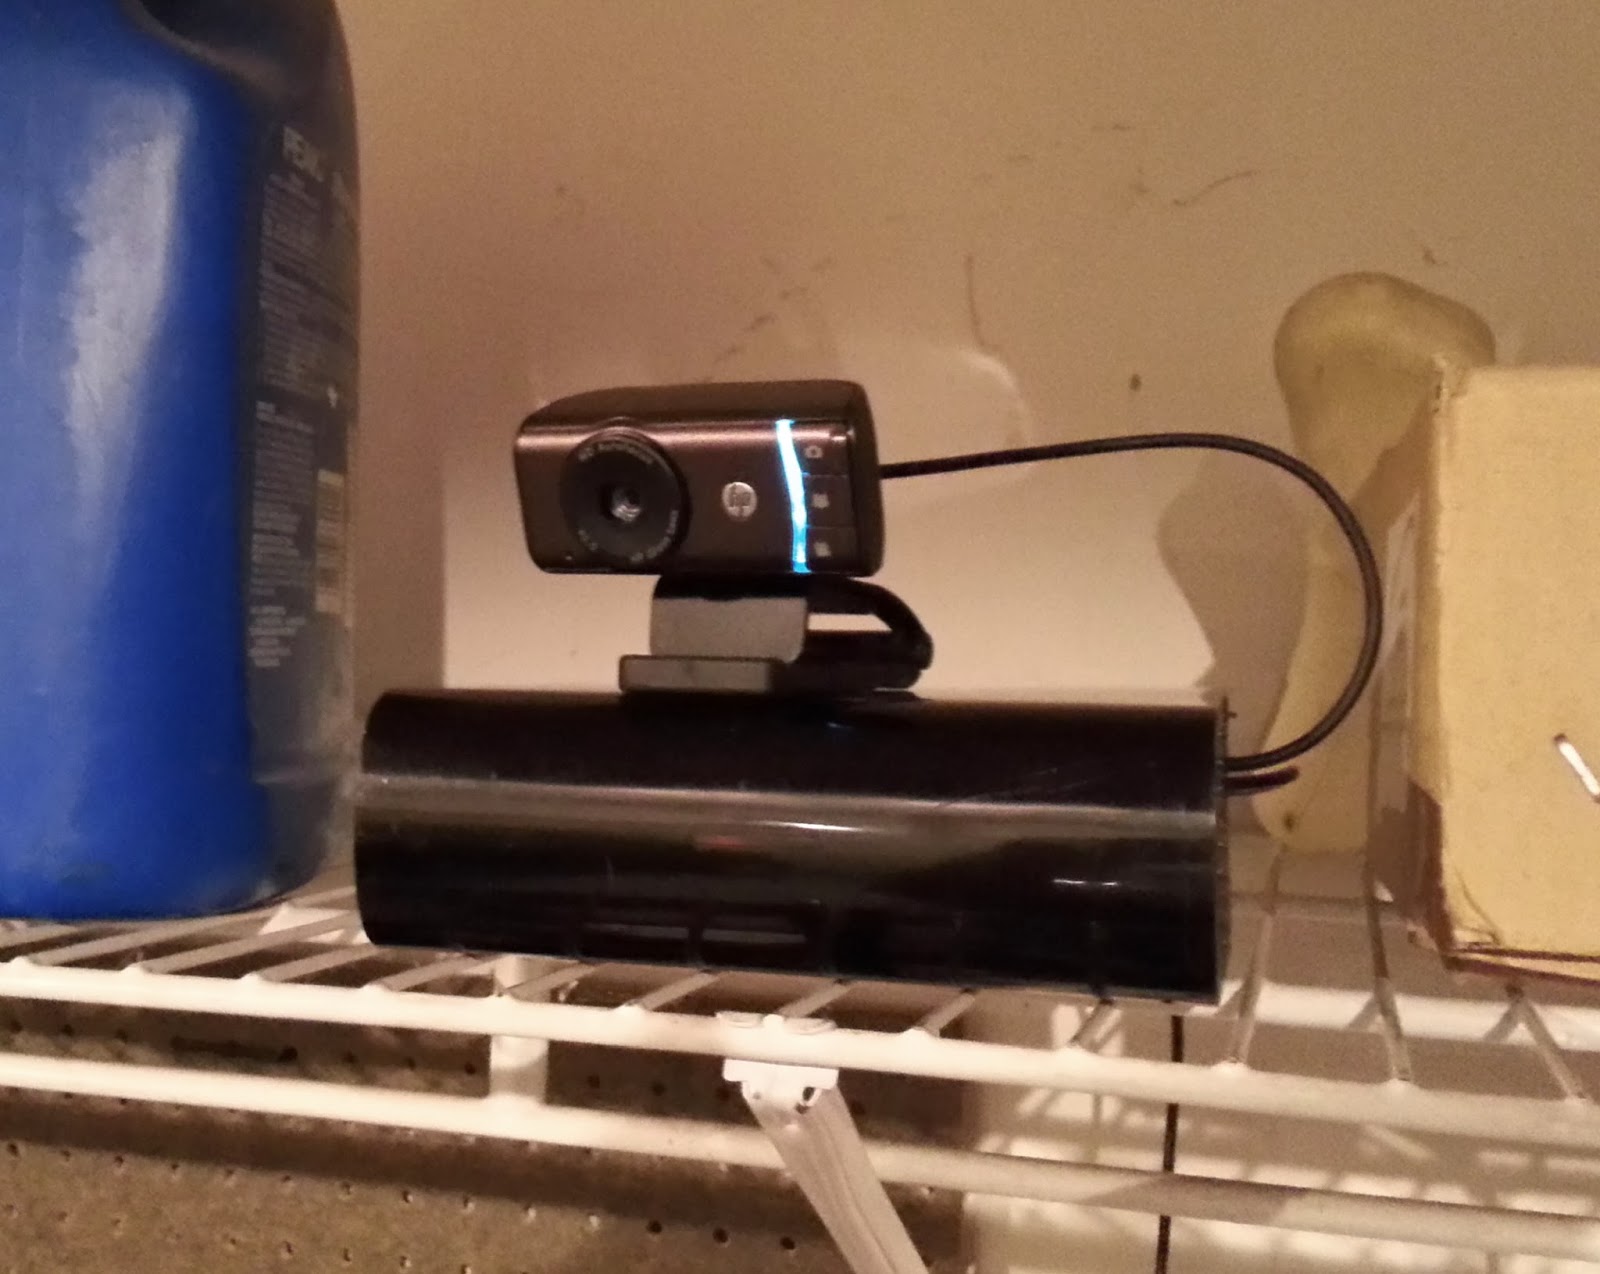
| HP HD-3100 webcam | $14 |
| Enclosure made of random stuff | $0 |
| Total | $108 |
I had most of these parts on-hand, so my actual cost was closer to $70. That means a savings of $90 over a commercial solution. I don't know of a cheaper solution than the Raspberry Pi that could handle a 1280x720 webcam feed and perform motion detection, and a $14 webcam is cheaper than Raspberry Pi's own camera expansion card.
Of course, your time isn't free. The hours spent in construction count - so I tried to estimate how long each step took me:
| Tearing down & wiring up garage remote | 1 hour |
| Setting up webcam and Motion | 2 hours |
| Configuring OS & system administration | 4 hours |
| Building web interface | 3 hours |
| Building enclosure | 2 hours |
All told maybe 12 hours of work, a quarter of which was me figuring out how to render an MJPEG stream on an HTML5 canvas. The web interface can be re-used, as are the system administration steps, so I could probably do another in four hours or so. Four hours and $70 isn't too bad for peace of mind.
Speaking of ease of mind, I'll leave this thread with an ad for Chamberlain's MyQ Garage. I thought I was bad... but these actors have turned garage door anxiety into an existential crisis.


